In this block we will see another way to get a great result without much sewing on the bias. We will stitch strips of fabric together, and then cut out the triangle with the aid of a template. The various pieces are given a letter to help. Make your own little key with your chosen fabrics. Have fun!
Trace and cut out templates on plastic. You need to be able to see through it.
Decide and be aware of what fabric is placed where.
Cut: Fabric A: 12” x 4”
Fabric B: 12” x 4”
Fabric C: 12” x 3”
Fabric D: 12” x 3”
Pair up the strips as shown.
Sew long sides together.
Press Unit AC seam toward darkest fabric.
Press Unit DB seam the opposite way.
Align templates and trace 4 AC and 4 BD --
AC is done with Left Template
BD is done with Right Template
Cut out as shown.
Lay out pieces to form pinwheel.
**STITCHING HINTS**
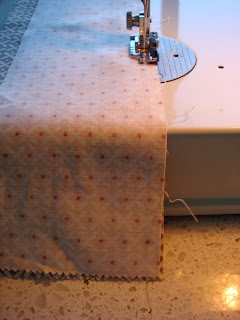
-place tip of triangle where needle is
-hold both threads as you sew and gently pull back
-stitch slowly and with fingertips, keep seam allowance at 1/4”, especially as you reach the end of the triangle.
-sausage stitch all 4 sections this helps too.
Hard part is over!
Stitch square sections together. Make sure you press your seams so they face opposite directions.
Stitch middle seam and you are done!


No comments:
Post a Comment