Showing posts with label quilt blocks. Show all posts

Friday, January 13, 2012

FLYING GEESE

Flying geese is a classic block that looks easy but can be hard! Traditionally you sew two small triangles to a larger one. The technique I am using helps you avoid stretching the seam while sewing on the bias. We will use a rectangle and two squares. It wastes a bit of fabric, but you will like the results.  

This is an overview of how the geese are made. The steps are pictured and described below.

 Cut 24  2”x 2” squares of background fabric.
Cut 12  2”x 3 1/2” rectangles of various fabrics.

On the back of the 24 squares draw a diagonal line from corner to corner.. Place the fabric on  a cutting mat; it helps to provide traction. 


Place one square on a rectangle, right sides together. Stitch on diagonal.

 Sew all 12 one after another (sausage stitching). Trim seam allowance to 1/4”.
Press seam toward darker fabric.


Place square at other end of rectangle, right sides together, so diagonals form a point. Stitch on diagonal.


 You will end up with 12 geese.
Make 2 strips of geese by sewing one strip of 8 geese (12.5x3.5") 
and one strip of 4 geese (6.5x3.5").
If your edges seem a bit wonky when the blocks are finished–don't worry and DO NOT trim them. They will look straight and fine when all of the blocks are sewn together.

Friday, October 14, 2011

nine patch

9 PATCH  is our second block. It consists of 2 blocks that you can see if you scroll to the bottom of this entry. I chose to use many fabrics to make my block. It will look striking in alternating 2 fabrics or alternating high contrast light and dark. I hope Lisa will post hers and Marci (hint hint!)  so you can see some variations. Also, a monochromatic look would be nice. PLEASE post some photos on Flicker. You can also leave a question in the comments and I will be happy to answer and help out.  Happy piecing!


Cut 18  1 1/2”x 6” pieces


Sew together in sets of 3


You will end up with at least 6 strip sets
Press 3 sets with seams in
Press 3 sets with seams out


Cut crosswise 1 1/2”


You will end up with 18 pieced sets


Arrange into 5 groups of 3 as desired
(There are more pieced sets than needed)
TAKE A PHOTO NOW FOR REFERENCE


Seams should be pressed to alternate.  This helps to match seams nicely when stitching.


Press each seam as you go
Stitch 9 patches together


9Patch (a) has 3 blocks
9Patch (b) has 2 blocks

Thursday, September 22, 2011

Roman Stripe!

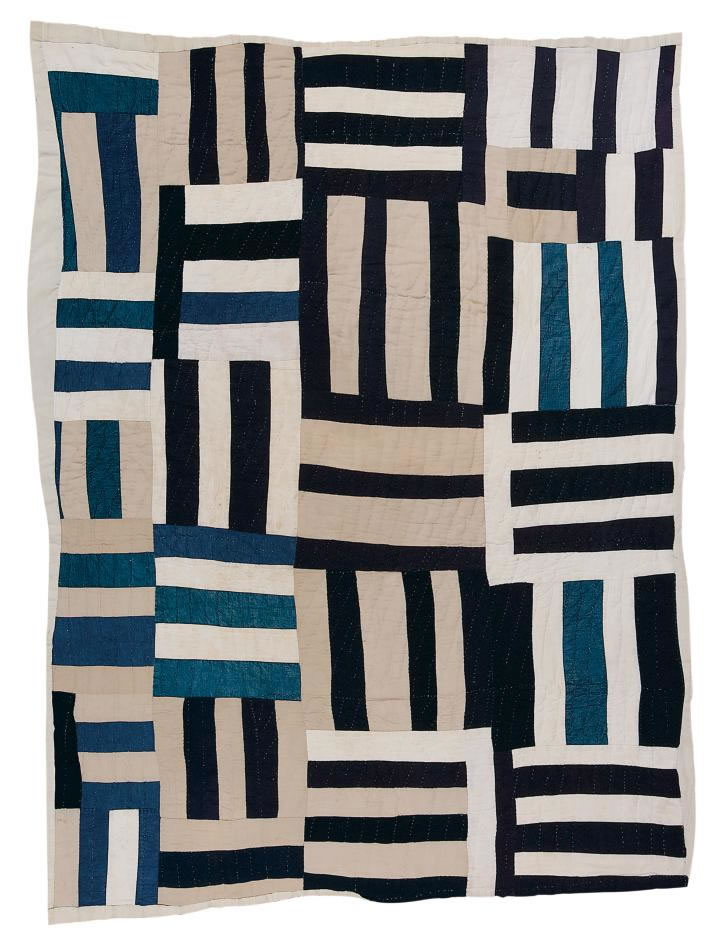
I have finally found the official name of our first block.  The Encyclopedia of Pieced Quilt Patterns that I have used as a source for many of the blocks in the sampler did not have a name for 4 stripes of fabric in each quadrant of the block; they only showed 3. I thought that 4 looked better, so Roman 3 Square became Roman 4 Square.
Yesterday I was looking at some old quilting books and found our block. It is called the Roman Stripe. Maybe now we can find the history of it. Isn't this a lovely variation? You can see more quilts from the Gee's Bend collection here.


Friday, September 9, 2011

Roman four square

Here is the first block of our quilt.  I think the photos will help you get off to a good start.  Leave a comment if you have any questions.  We would love photos of your fabric choices and completed blocks as you go.  Happy piecing!

Choose your fabric


Cut 16    5” x 1 5/8” strips  of various colors, the length of the strips parallel to the selvage 


 You need 16 strips total


Arrange the stips 
Snap a picture so you can refer back to it as you sew


With 1/4” foot, sew your stips, right sides together!


Press, dry iron, on top, away from the light strips if possible


Sew and press the 4 sections


Sew right 2 sections together
Sew left 2 sections together 
Press as you go


 Line up the middle seams


Pin on either side of seam
Line up ends and sew!!!!


 The completed block